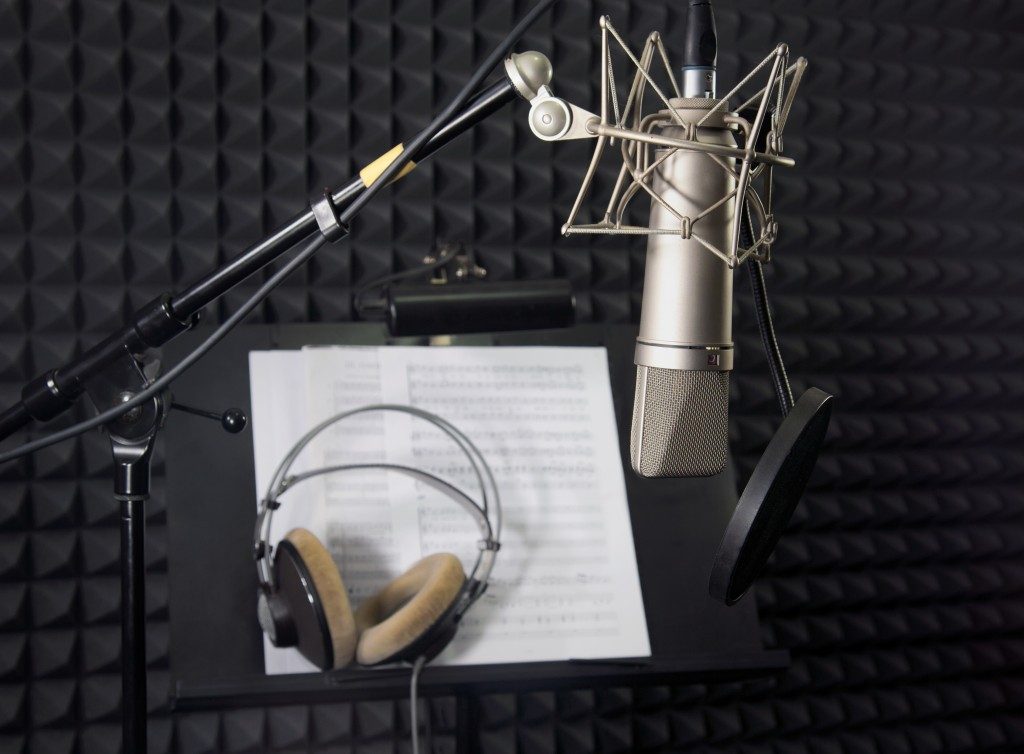
A studio can be as cheap as a phone recorder, some headphones, and a microphone. Add a little peace and quiet, and you're ready to record your new song. Upon hearing the output, however, the sound seems muffled or just doesn't seem right. You don't think it’s your voice or instrument. The quality of your recording gear is also pretty decent. Maybe, your surroundings could use a little DIY.
The Sound
There are factors you need in order to achieve that ideal sound: accuracy and proofing. Sound accuracy involves bass control and reverb reduction, as well as the set-up of your monitors, while soundproofing is basically reducing the amount of vibrations or noise in adjacent rooms or areas. In other words, only you can hear the sounds you're making inside the studio.
Soundproofing may cost a lot of money. But even on a tight budget, you can still make improvements compared to your current set-up. If possible, you may need a slight overhaul of the surrounding walls by replacing boards and adding insulation.
Removing the frameworks of these boards and adding another wall on top will improve the soundproofing levels in the room. Adding another board using the right plasterboard cutting tools can improve the acoustics and isolation of your studio. But you may need assistance in doing this.
Decoupling and Sealing Gaps
Adding more layers is good, but decoupling is needed to ensure the transfer of vibrations. Decoupling is creating an air gap from the existing walls. In addition to decoupling, make sure your space is as airtight as possible to ensure that noise leakage is kept to a minimum.
A standard door will not provide sufficient insulation for a studio, so replacing it with a solid door with plywood reinforcements like timber may help. If this sounds expensive, any cheaper solid door with a door sealer is sufficient.
Check the windows, too, and look for gaps. If there’s any, seal them with a sealer foam. If you can, purchase a glazing kit that may provide airtight seals and soundproof windows. For example, a 6-mm glass may need a 25-mm gap to isolate more noise. If this doesn't fall into budget, you can use sound absorbing foam instead.
The Acoustics

When the room is adequately soundproofed, consider the acoustic set-up of your studio, as well. If the budget permits, perforated plasterboards on your studio ceiling can increase the acoustic quality and reduce reverb from sound. The ceilings may also be designed to match the surrounding requirements of the studio room.
Smaller rooms or studios may have uneven frequency responses, particularly low-end sounds. Purchasing bass traps and placing them on the corners of the room will help with bass control and retention. Bass traps are ideally paired with acoustic panels that take care of middle and high-frequency ranges.
Converting or improving your home studio costs money. But even on a budget, you should be able to control and minimise noise (to an extent) and make recording sessions sound more natural compared to an older set-up or none at all.
